
Tutorial – How to use MCedit 1.0
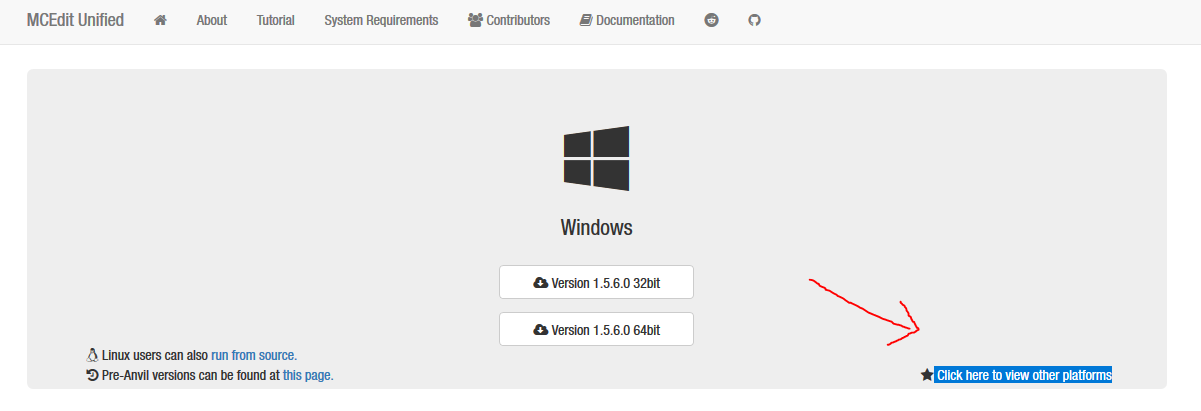
1.- Download MCedit (old version) in this link:
http://www.mcedit-unified.net/
NOTE: Mac and Linux users hit the little button “Click here to view other platforms“
Start Mcedit.exe
2.- Open / Create a level
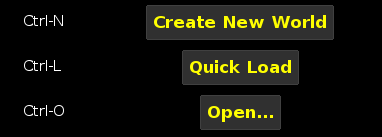
NOTE: if you open a level you need to go to and select the “level.dat” file
Windows
“C:\Users\*Username*\%AppData%\Roaming\.minecraft\saves\*LevelName*\level.dat”
Mac
“~/Library/Application Support/minecraft/saves/level.dat”
3.- Movement
Use W/A/S/D to move around
Use Shift / Space to go down / up
Use right mouse click to rotate camera
4.- Select tool
Click or drag to make a selection.
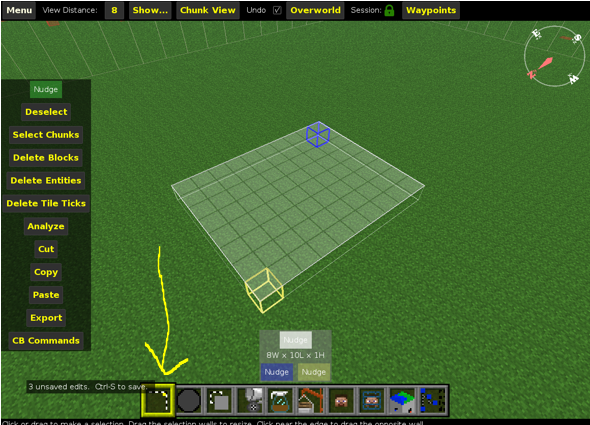
You can edit the selection by dragging the selection walls.
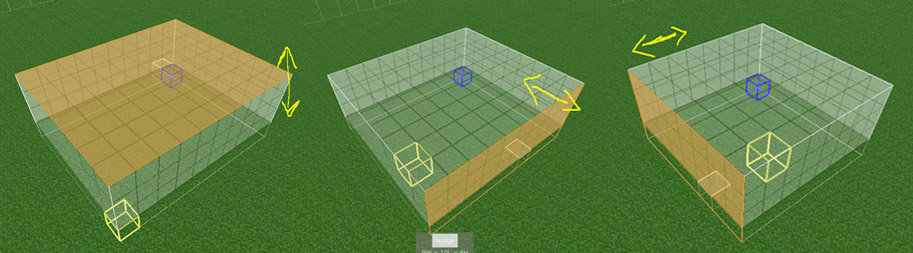
NOTE: the orange face is the selected one.
With the selected area you can delete the objects (Delete key) , copy (Ctrl+C / CMD+C) and paste (Ctrl+V / CMD + V). Also you can save the selection as a schematic by clicking on export or save in the top right corner.
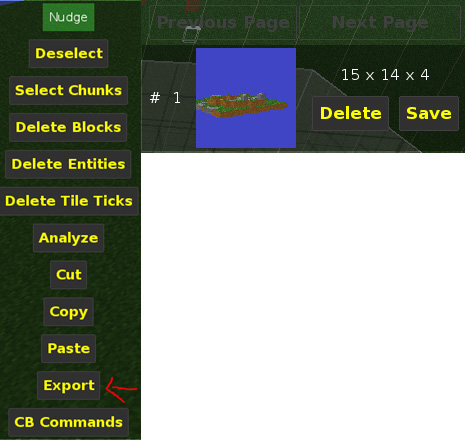
NOTE: When pasting objects you need to click import (or “enter key” after placing the object in the scene ( if you don’t do this the object will be deleted and need to start again the paste process)
5.- Brush tool
Click or drag to place blocks.
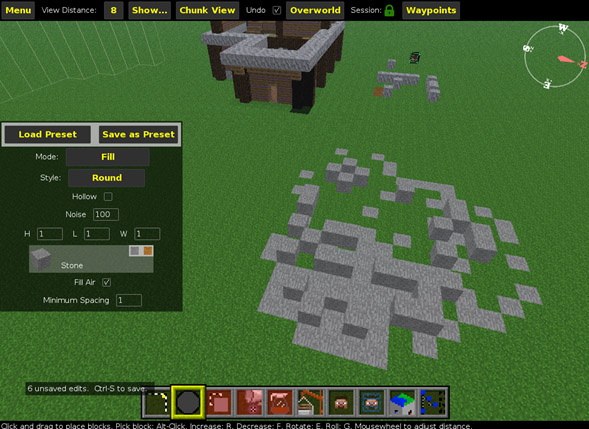
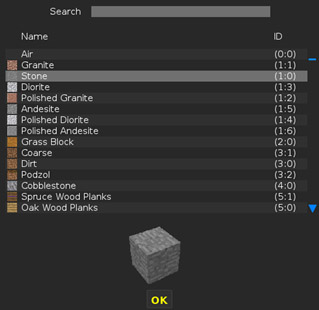
You can change the mode to different ones (schematic to paste previous saved objects) and fill with a Height, Length and width of 1 to place 1 block. You can change the type of the block by clicking on the block.
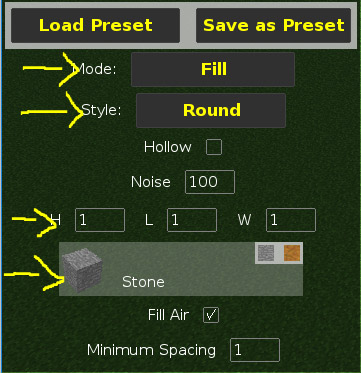
Change cube layout
5.- Clone tool
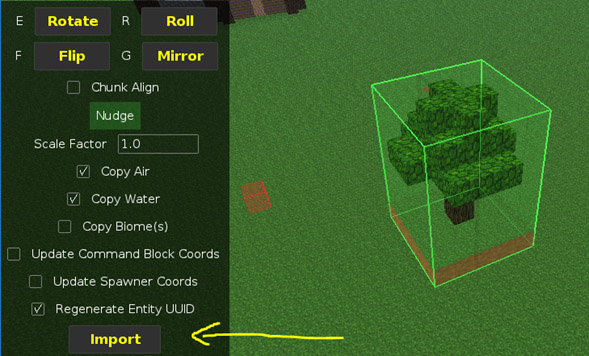
With the object previously selected click the tool clone and drag the object to the position you want, change settings if needed and hit “Clone” or “Enter key”
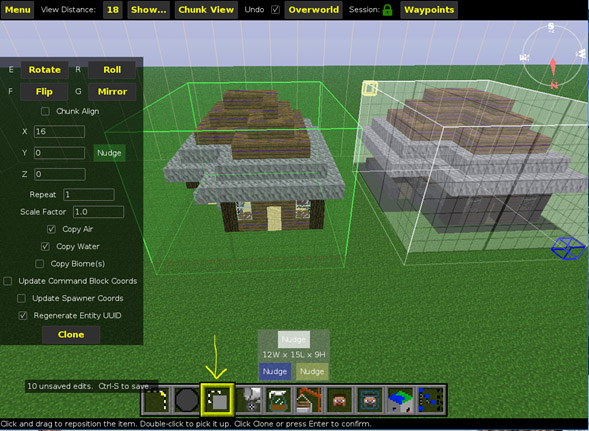
NOTE: If you have the “Copy air” option enabled you copy the empty spaces and if you place the object intersecting other cubes the empty spaces will be delete the objects in the space of air
Ej.
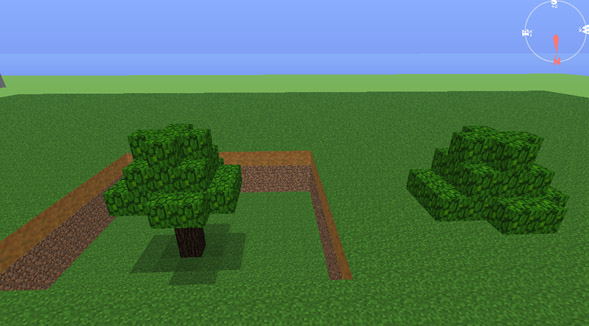
7.- Fill and Replace tool
With a selection you can fill it with the selected block or replace specific block with another one
