Note: this will make an entry for Chocolate show up in the Herby dashboard. The instructions may change when we make it so that you can get info from chocolate for all the mediated ad networks.
Nomenclature
We have two important things:
- Games
- Ad placements
- (and ad networks, for large quantities of ‘two’)
We need to link the two of them together so that when an ad network tells us that a specific game placement showed X number of ads for Y dollars, we know which game earned the money and impressions.
Make It So
In this example, we are going to link Cops and Robbers Jailbreak with its ad placement in Chocolate.
Go into Herby. I’m not sure if you need privileged permissions or not for this process. Go to Config -> Linked Accounts.
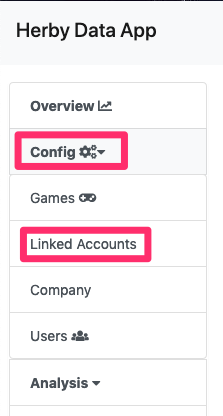
This will bring up a page showing all the ad networks. Find Chocolate in the list and click on it.
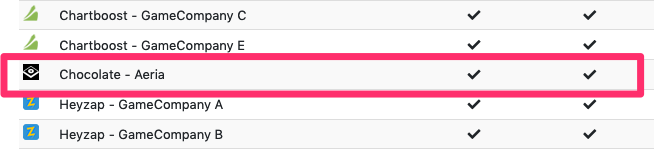
You should see something like this:
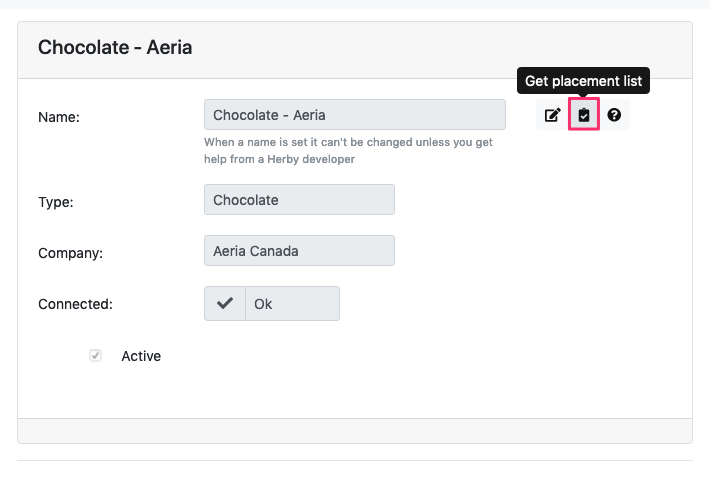
Click on the clipboard icon that says, ‘Get placement list’
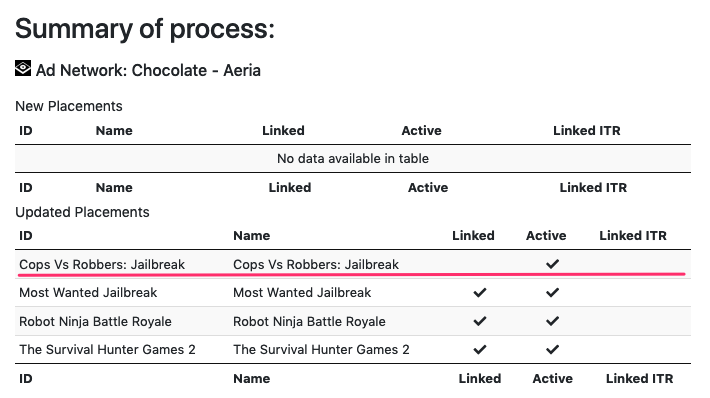
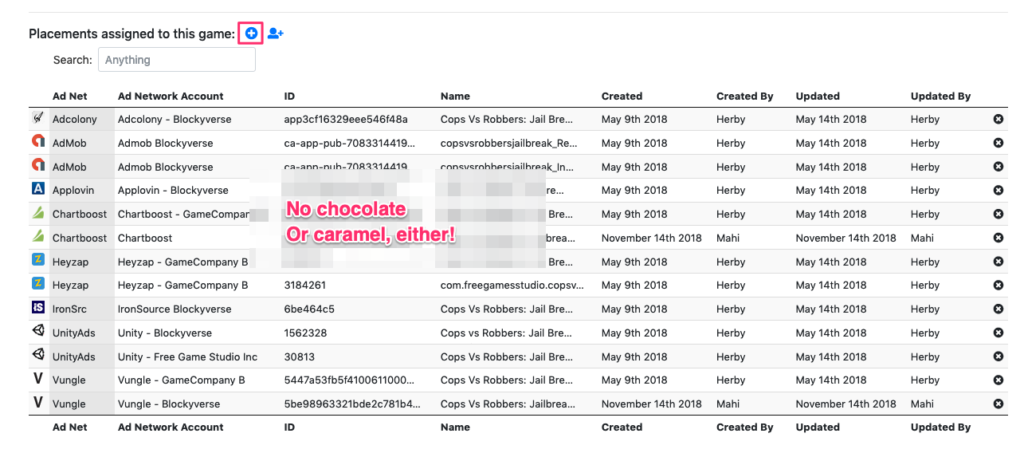
We can see that we have information on a placement for Cops Vs Robbers: Jailbreak, but that it isn’t actually linked. [Also, by the way, ‘Linked ITR’ means ‘Linked In This Request’, meaning, the linked was done automatically just now because you hit the clipboard button. Some ad networks can do this, and some can, depending on whether there is enough information to tell which game the placement corresponds to.]
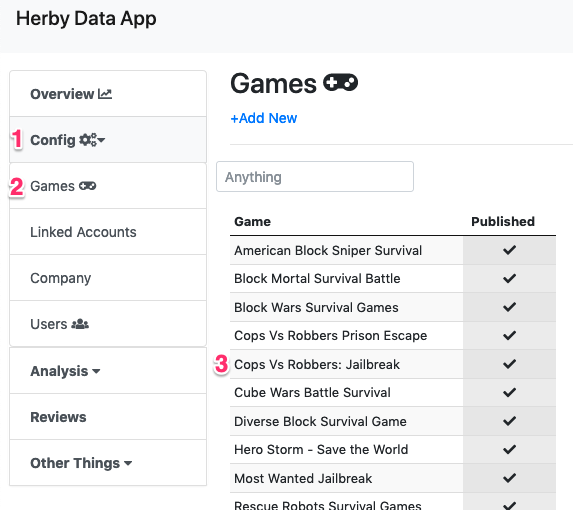
Next, we are going to the page for the game that we care about. From the side menu, go to Config -> Games, and then click on your game of interest.
If you scroll down, you’ll see a list of ad networks and placements that are associated with the given game. Chocolate is not in the list. We’re going to click on the ‘Add Existing Placement’ button.
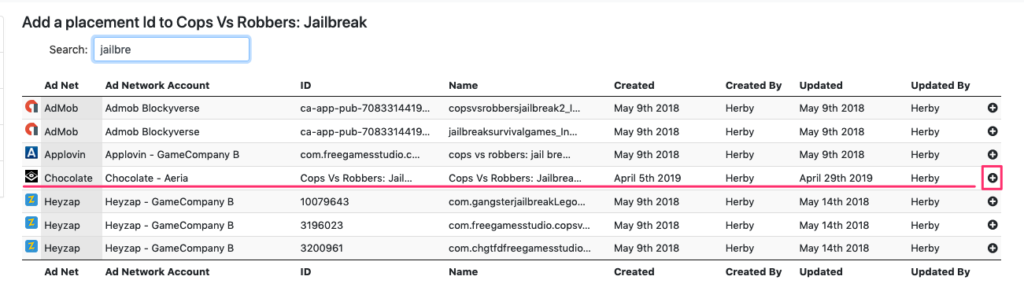
Once you do that, you’ll see more placements than you can shake a stick at! Type in some sort of filter, find your placement, and hit the ‘plus’ button beside it.
You’ll be greeted with success:

Review
Incidentally, if you go back to the linked placements page where we started this blog post, you’ll see that it is now linked,
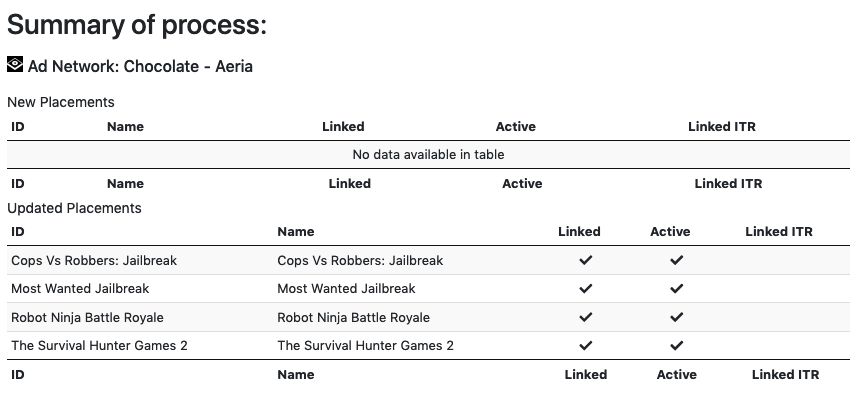
and if you look at the revenue breakdown for the game by ad network, you’ll see the details.