Creating/editing a character:
*Characters are already created*
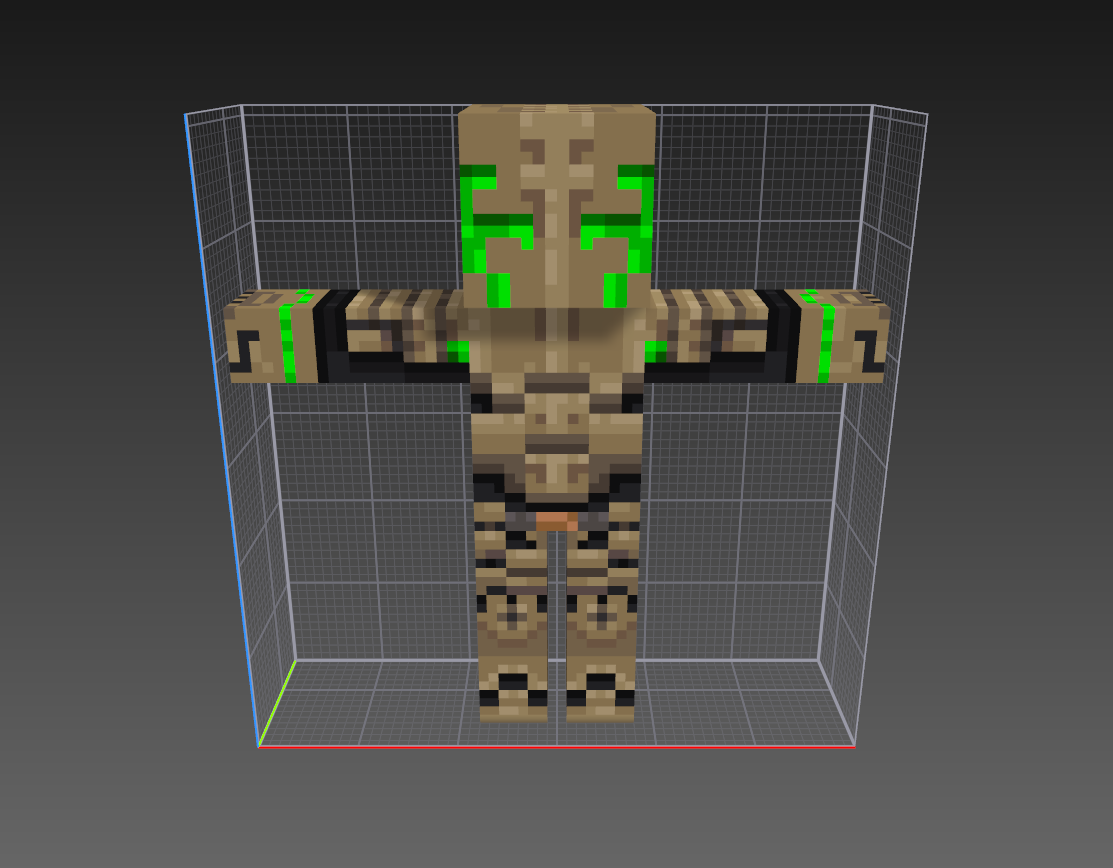
- Load the Vox file of a character in Magica Voxel.
- Re-paint the new texture of the character (never add new mesh).
- Take screenshots of every view (in ortographic mode) perfectly aligned.
- Open texture file in Photoshop (or any other image editor).
- Cut all the textures from the screenshot views and replace them in the texture file.
-Create an OBJ character
- Convert from Voxel (.vox) to Object (.obj)
*After texturing the character in Magica Voxel*
>First way:
- Open the character .vox file with Voxel Shop (software).
- Select all the character and export it as an OBJ file.
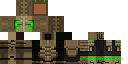
*This will also generate an image file of the texture in png or jpg format*
>Second way:
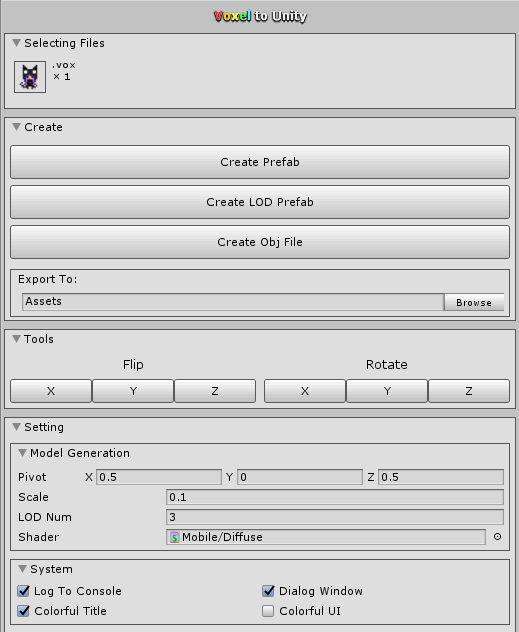
- Load the “VoxelToUnity v1.2.2” package inside of Unity. (external plug-in)
- Drop and drag the .vox file in Unity
- Drag it to the convert file and choose the OBJ button.
*This will create the OBJ and the image file of the texture*
- Open the .obj character inside Autodesk Maya (or any other 3D software)
- Verify that every box is closed:
- Select all the vertex and choose “Merge”.
- Verify that every box is closed:
*This is to prevent problems with the animation*
- Add loops divitions on every joint (knees, elbows, etc)
- Select the object and Insert Edge Loop
*This is to help the animation bend correctly*
*Extra assets such as helmets, weapons, cloaks, accessories should be parented to the model joints inside of Unity*
-Animate a character (using mixamo automatic-rigg)
- Convert the .obj file to .fbx (Using Maya or the 3D software of your preference).
- Log in into mixamo platform.
- Products > Rigger > Auto-Rigger >Rigg your character > Upload
- Select your .fbx character.
- Place the joints where you want the movement.
- After the character is completely rigged, go to “My Assets” and select your character.
- Click on “Find animation” and look for the animations you want.
- When you like one just click on Add to pack (you can do this to all the animations you want).
- When you finished choosing all the animations you wanted, go to “My Animations” tab
- Select the animations you want and click “Queue Download”
- In the “Downloads” tab select your animations and choose what you want to download (it could be an animation skinned or just an animation with only joints).
- Import that file into Unity.