
Purpose
.unitypackage files are sometimes a convenient way to update game assets, such as textures, models, and sometimes even scripts. This document explains how to install a Unity Package.
Method 1: Drag and Drop
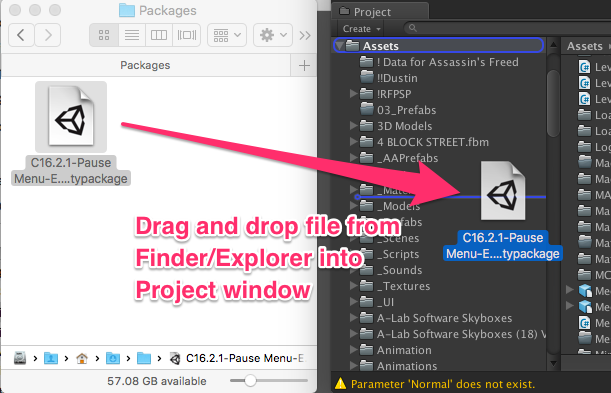
- Find the .unitypackage you wish to install in Windows Explorer or in the Finder.
- Drag and drop the file from Explorer/Finder into the ‘Project’ pane in Unity.
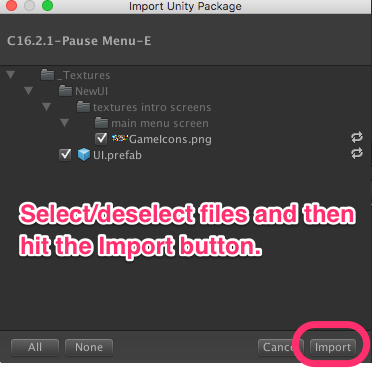
- Unity will show a dialog asking which files you want to import. You can select, unselect files, and then hit ‘Import’. They’ll be added to your project.
Method 2: Import Custom Package
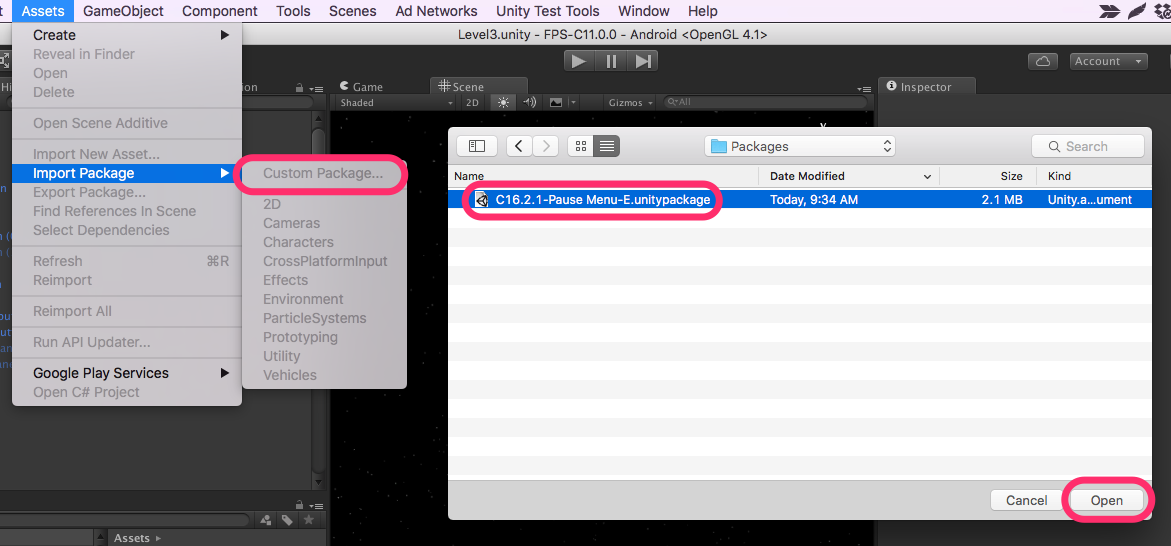
From the menu, choose Assets -> Import Package -> Custom Package…
An ‘open file’ dialog will come up. Browse to your package and open it.
You’ll then be asked which particular files you wish to import.
Method 3: Double Click
This method is awesome when you are only running one instance of Unity. (If you are running Unity 5.0 and Unity 5.3 simultaneously, the import may happen in the wrong Unity).
Find the unity package file in Windows Explorer or in Finder, and then double-click on it. Unity will then pop up a dialog asking which files you wish to import.
Caution
While Unity Package files are easy to pass around and install, it is really easy to install an old package, with old scripts or prefabs, that will break your project. This is not always the right tool to use.