NOTE
See this page, on updating to use Heyzap mediation. That process is much simpler than the one outlined here.
Purpose
This article outlines how to go from having a PF (a “Project Folder”) for a game to putting it into version control
Applicability
This is for both developers and people in production — anyone asked to get a game into version control.
NOTE
This is a work in progress.
Written Instructions
To get a game into version control, you’ll need:
- The latest Project Folder of the game (probably a C10.2 version)
- GitHub desktop (or equivalent) installed and working, and access to CCodeRepos
- To know what the BVC of the published game is
- You’ll also need Unity 5.0 and Unity 5.3
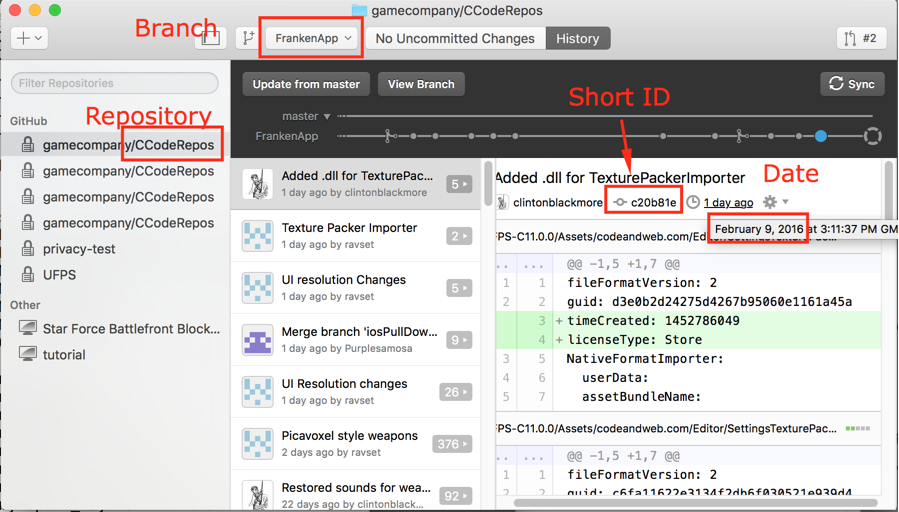
Open up GitHub desktop, and sync up to the “Approved Version” branch. [Note: we may want to do this from the “C10.2” branch instead.] Create a new branch off of it with the game name (ex. Survival Hungry Games 2). You will automatically be taken to the new branch.

Setting the Name, Icon, and Bundle Version Code
Open up your project from version control in Unity 5.3, and open up the old version in Unity 5.0. [NOTE: Do not open up the old game in the new version of Unity! It’ll take forever to import and will not get you closer to being done.]
Open up the Player Settings in both versions of Unity.
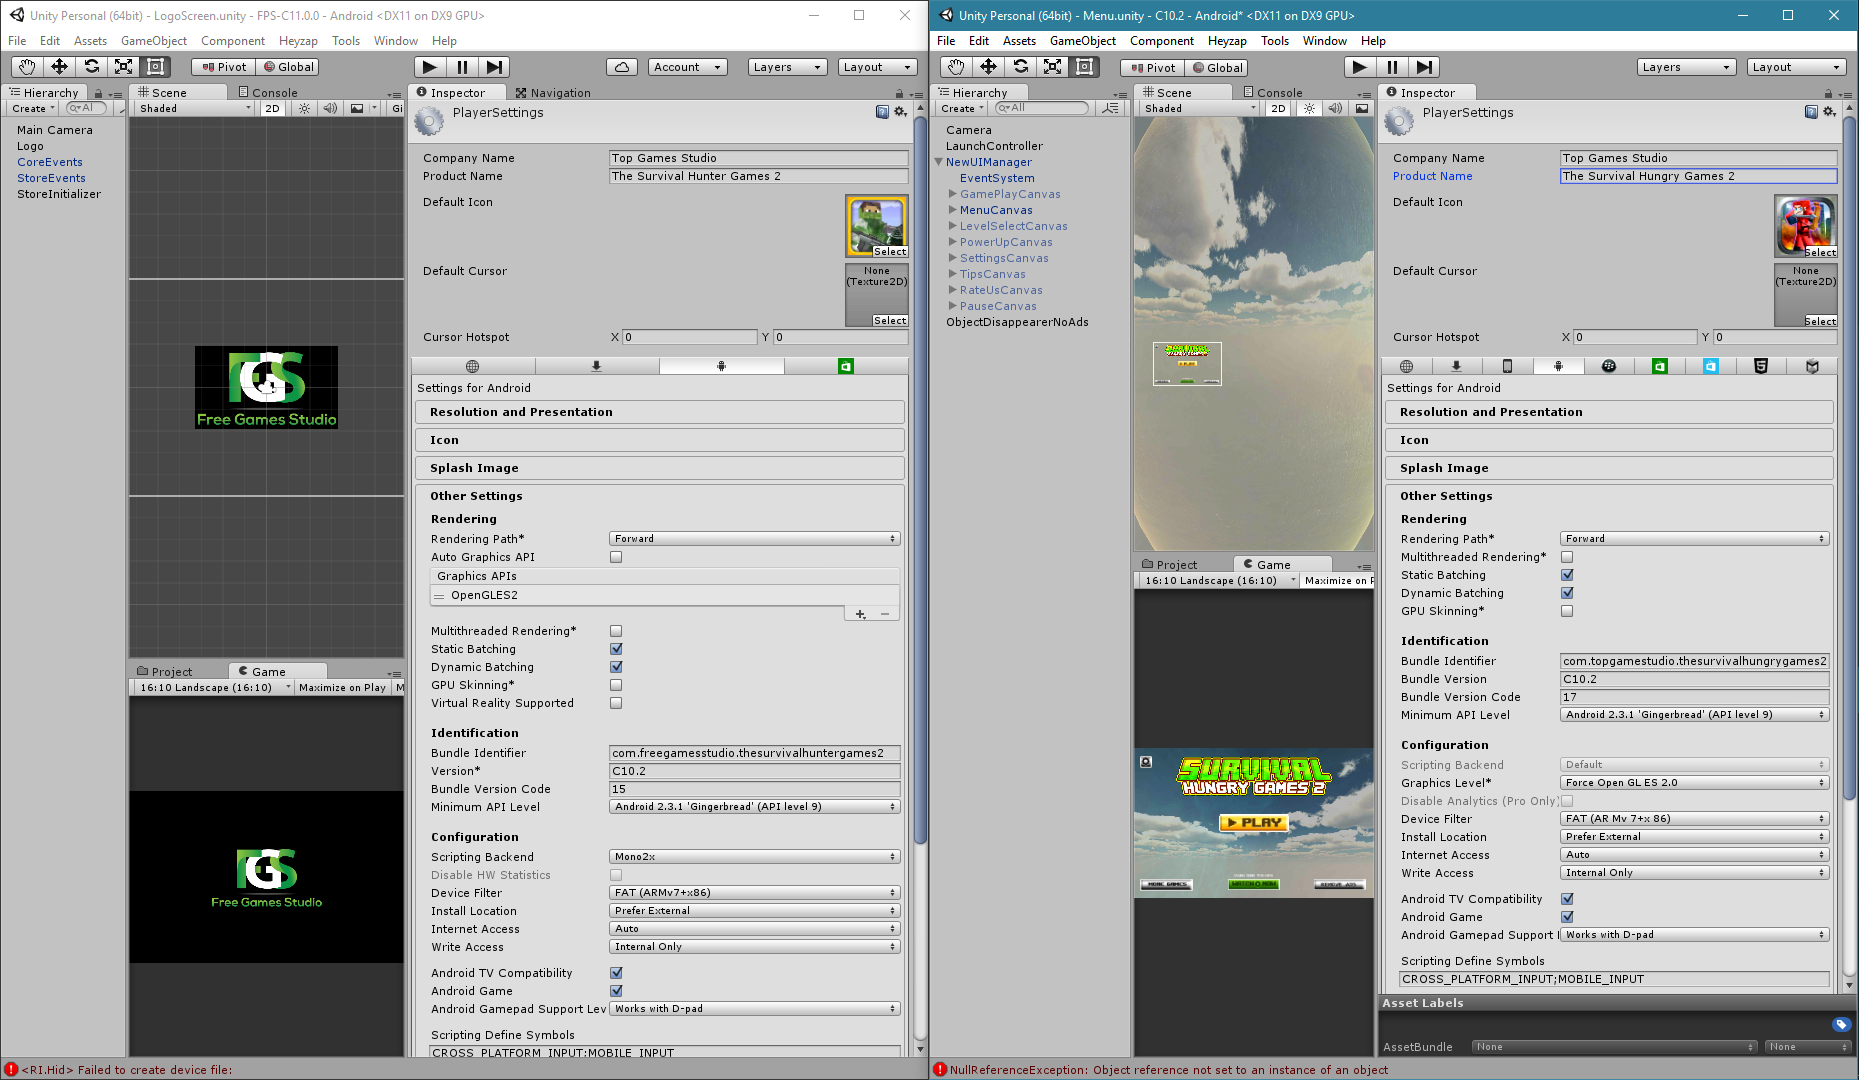
Copy over the Company Name and Product Name.
Copy over the Bundle Identifier.
If the old version is C10.2, the new version is C14.2. [See article on version numbers].
Set the BVC to the BVC of the live game in the store. [How to get the BVC].
Get the Icon
In the player settings on the old version, click on the image of the icon (but not on the select button). It’ll show you where the icon file is.
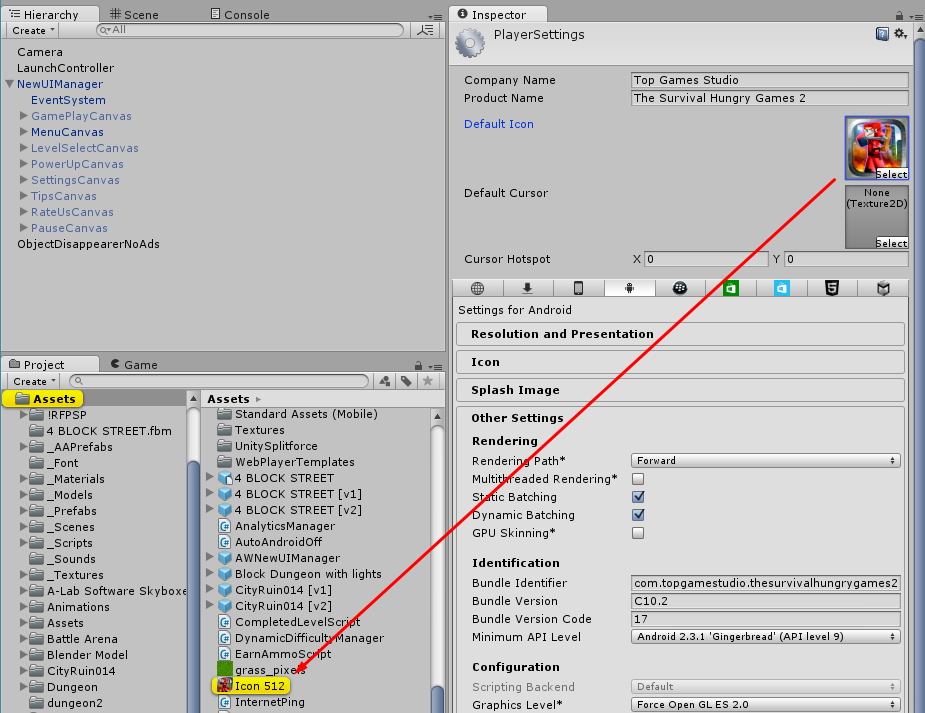
Copy the file to the new project, and set it as the icon there. [It may change the name to Icon 513! You might want to delete the old Icon 512 and rename this to be Icon 512]
Save the new project (File -> Save Project) and commit it to version control, perhaps with a message like “Brought over BVC and Icon”.
Copying The Levels
What we are going to do is make new copies of the scenes that only contain things specific to the scenes; the level geometry. All of the interactive things — the player, the ammo pickups, the enemies — will be removed. [Particle effects may require additional work later.] The level geometry (and random cubes and such should be left in the scene) so that we can later export all the textures and models and such it relies on.
For each level in the old version (level 1 – 6),
- Open up the level.
- Figure out everything that is level geometry. Select is in the inspector, and turn it off — make sure you get it all turned off; this way you’ll know that you’ve got it.
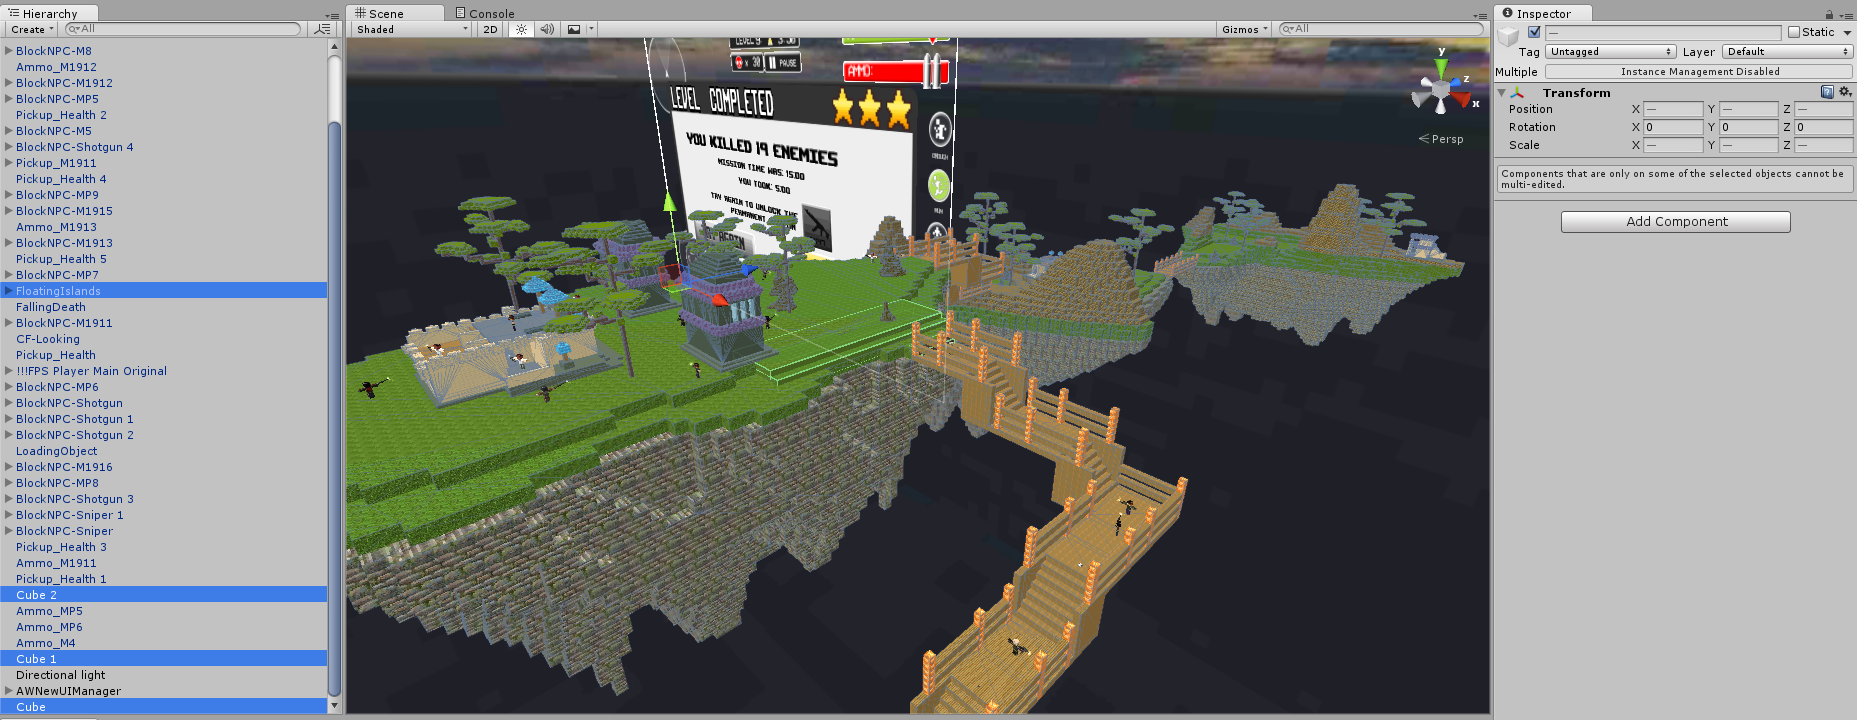
Figure out what is scene geometry - Now, select everything in the scene, and unselect the ones you want to save. Delete it all.
- Now, go File -> Save Scene As… and save it Level{X}Stripped [where {X} is your level number.]
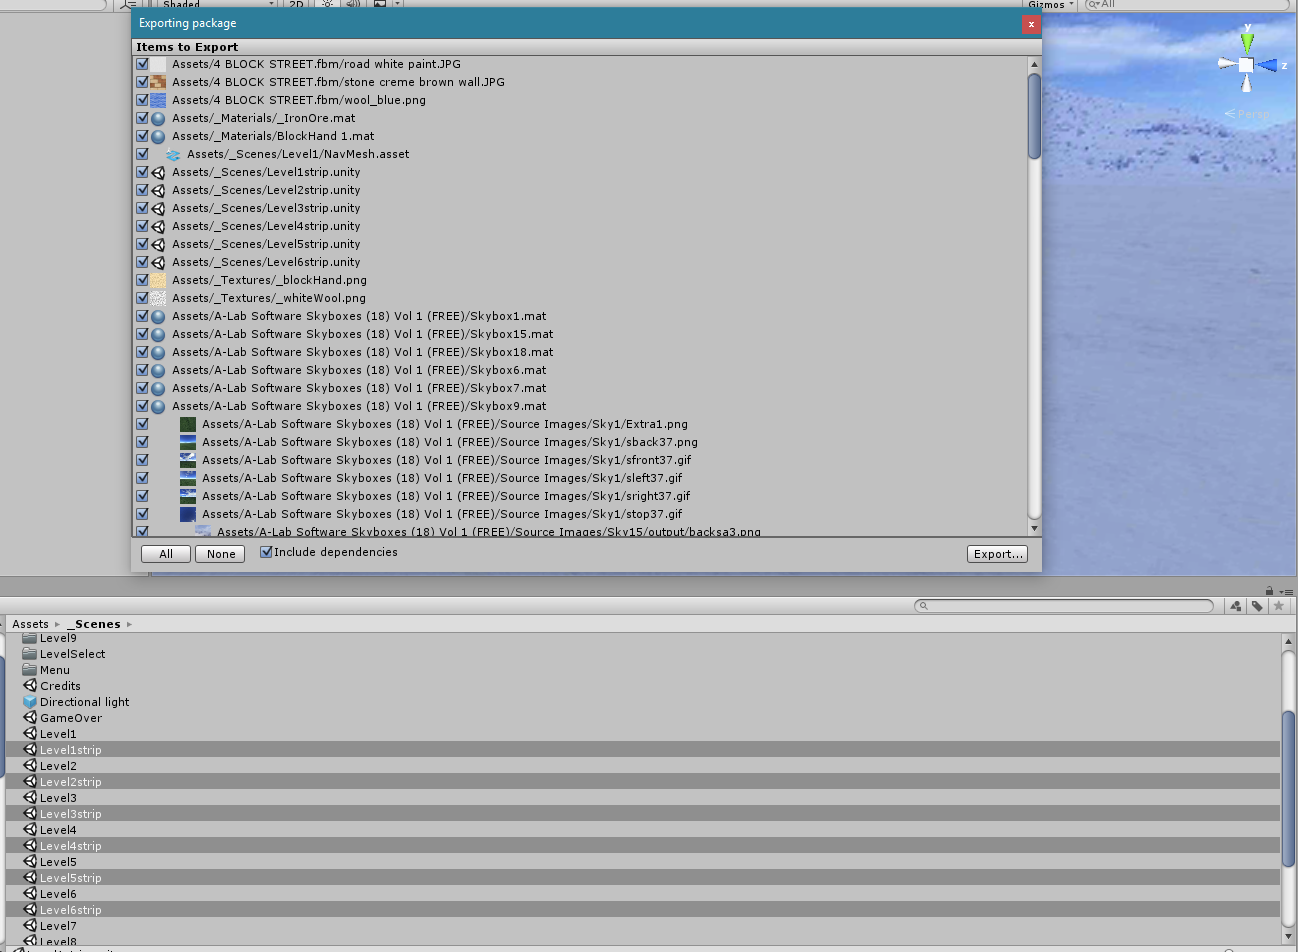
After you’ve done that for each level, select all six Level{X}Stripped scenes in the project, and choose Asset -> Export Package. You’ll want to export it with all the dependancies.
If you see tons of files — especially lots of scripts — then you’re levels haven’t been stripped properly. You’ll want to try exporting them one at a time — don’t actually do the export, just see what it would export — to find the level that is the problem. The package should contain materials and models and textures, not much by way of code.
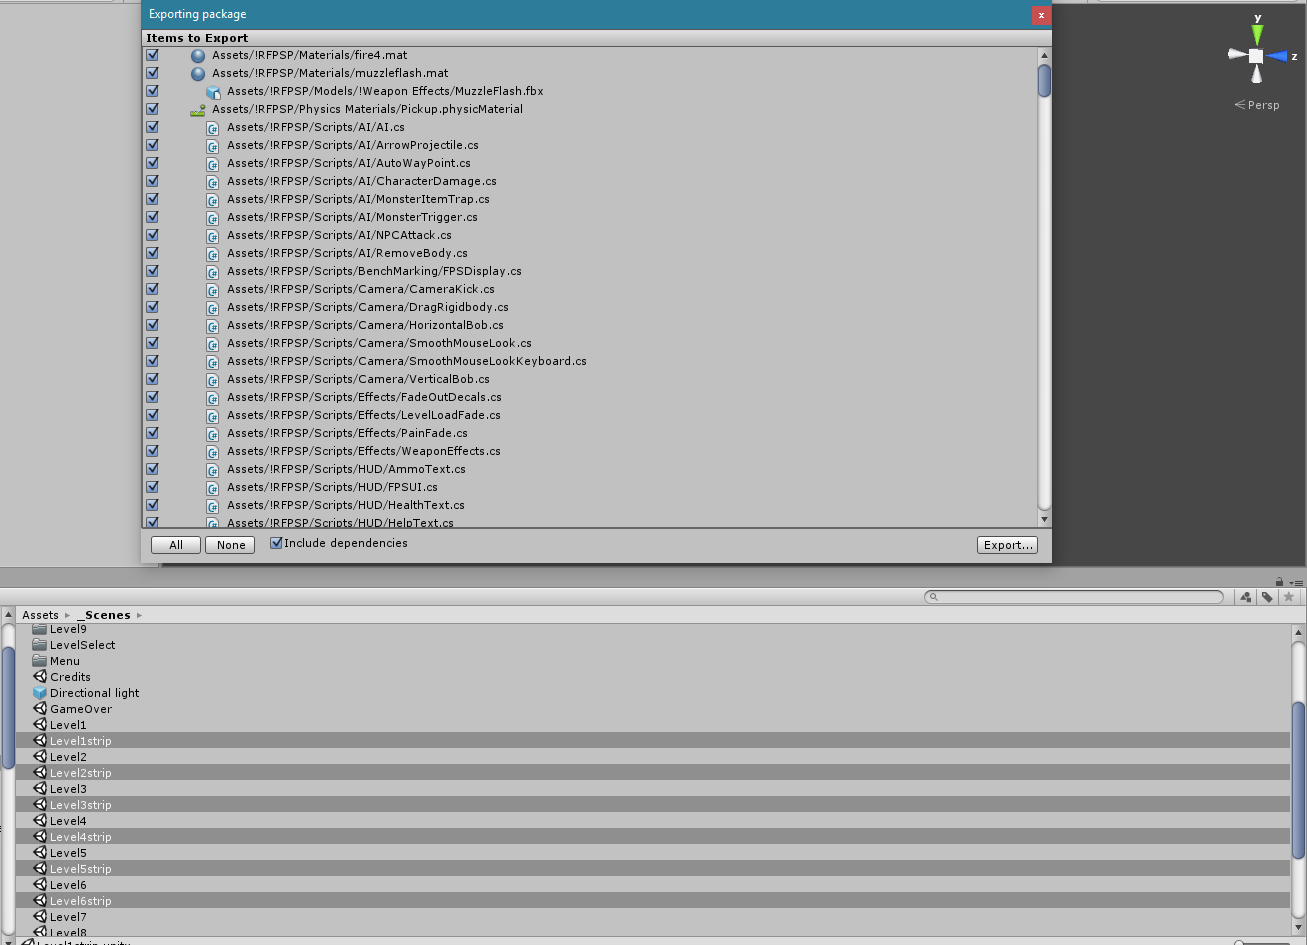
When you have things properly stripped, export your package (“stipped levels” maybe?) and import it into the new project. Don’t import the stripped level files, but do import everything else.
You could optionally save the project and commit after this step (“Brought over level dependancies”). Wait until the commit finishes.
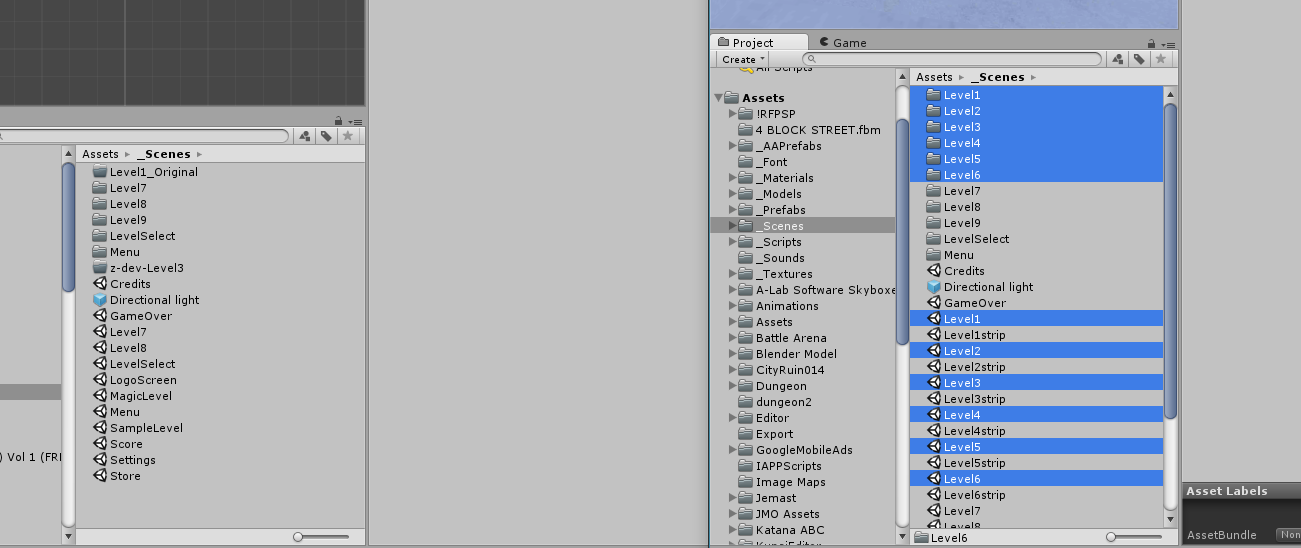
In the new project, go to the _Scenes folder and delete the scenes Level1-6 and the folders that are also named levels1-6. Then, copy these same files from the old project. [I had an issue where the controls were all broken. I think I had copied the files by exporting and importing. The issue went away when I directly copied the levels using Beyond Compare.]
(We got some error messages due to this step — Null References — but I don’t think they are a problem)
It may not hurt at this point to open up some or all of the levels to compare them.
Commit your work.
Copying the Launch Controller, Logo Screen, and Menu
Now we want to close the new project.
Without copying the meta files, copy Assets/_Prefabs/LaunchController from the old project to the new one. Also copy Asset/_Scenes/LogoScreen and Assets/_Scenes/Menu. You’ll probably need to use Windows Explorer or The Finder to do this copy, from the old project to the new one. Overwrite the existing files.
We also need to get the title image (and its meta file). Open up the menu scene in the old project, click on the title, and in the inspector, click on the source image for that script. This’ll show you where the Title’s file is. You can copy it while Unity is running or not.
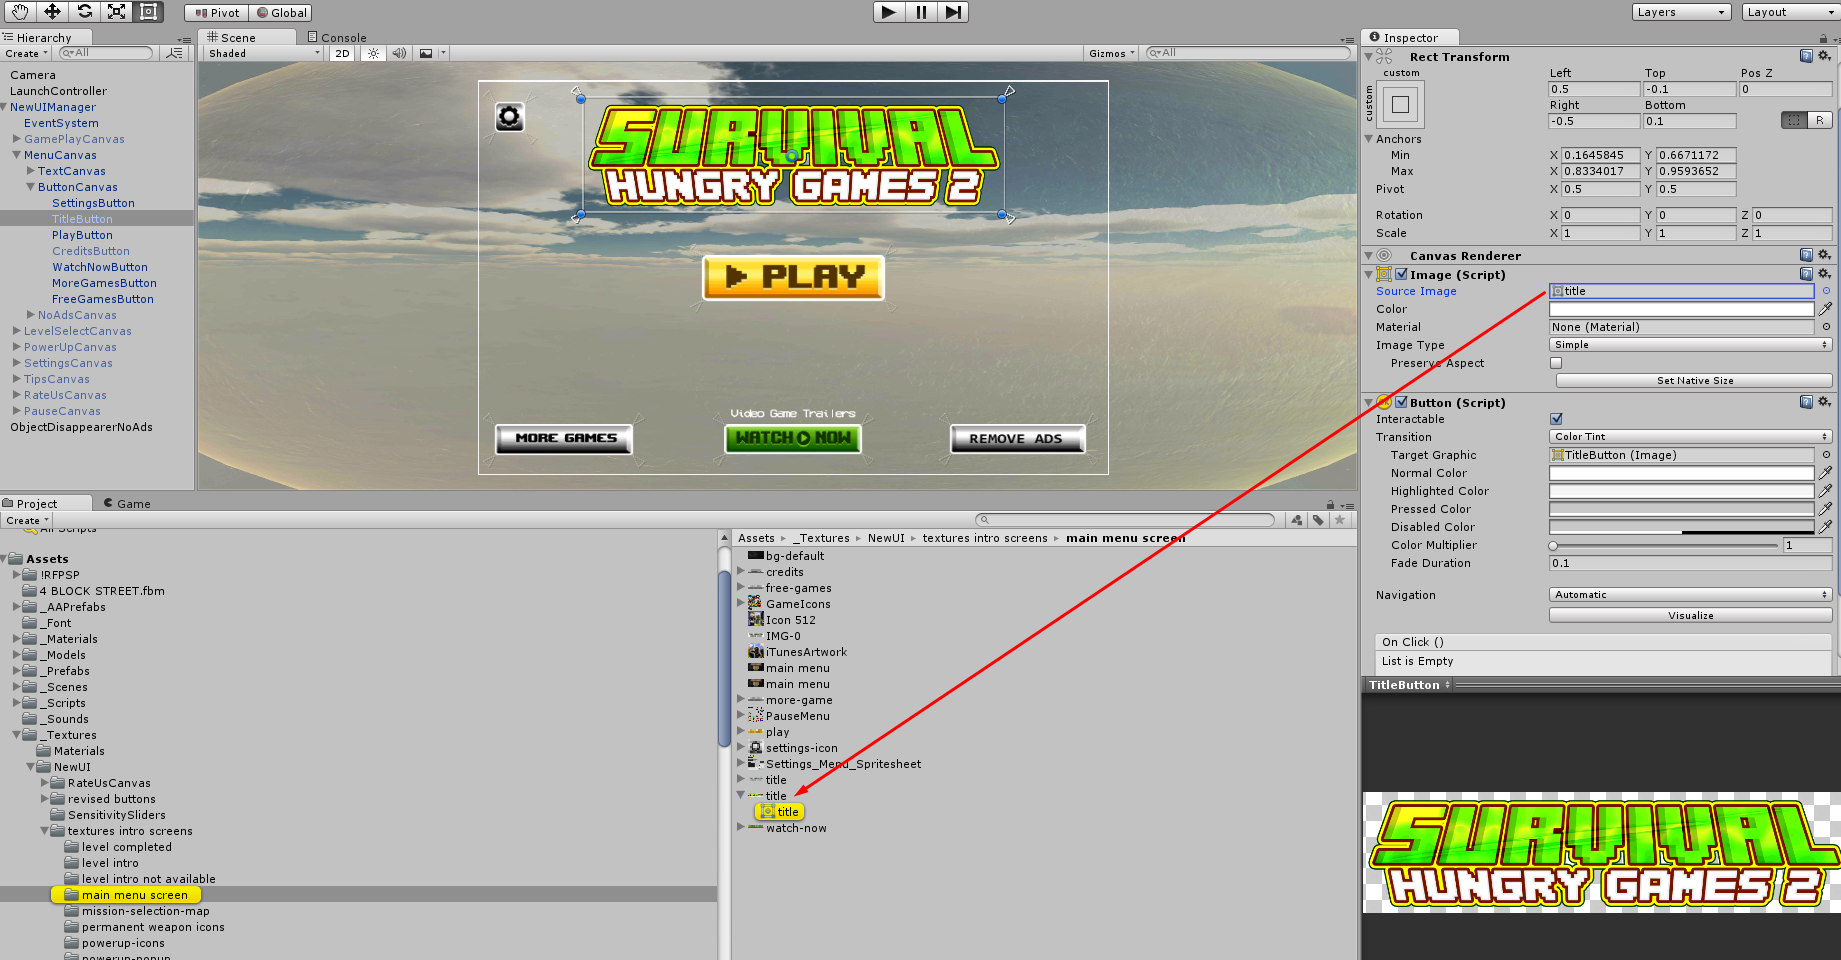
Play the game from the logo screen. Does it show the right company? Does it show the right title?
[Note: If you can’t see the game title and UI of the menu screen in the scene view, removing the Canvas, Canvas Scale, and Graphic Raycaster from subcanvases should help. It seems to work right in the game.]
You may also want to double-check the launch controller settings.
If it looks right, commit your work (“Brought over Title and LaunchController”)
Copying the Skins
Duplicate the _AAPrefabs folder in the old project (“_AAPrefabs 2”)
In the new folder, select all the ones with names that start with “BlockNPC”
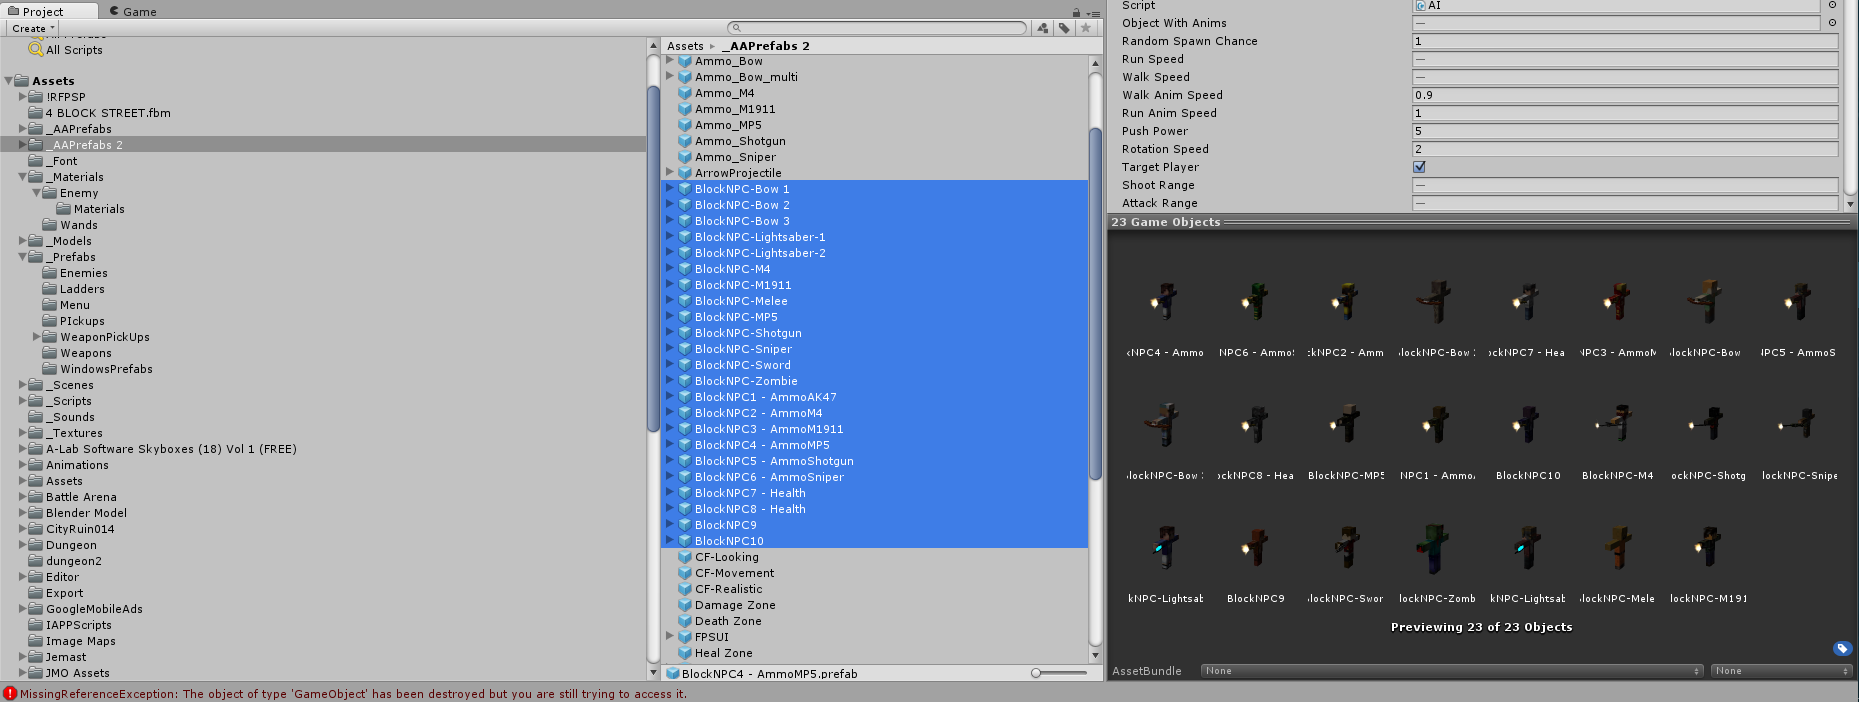
With them selected, remove all of the scripts from them — the AI script, character damage and NPC attack scripts.
Select them all again, and right click on them and choose “Export Package”. Export them with their dependancies. It should be materials and textures — not scripts.
Import this onto the new project.
Delete the _AAPrefabs2 folder (in both projects)
Now, go to the old project, and go to the original _AAPrefabs folder, and select all of the BlockNPC items, and export them without dependancies. Import this into the new project.
Commit your work to version control. (“Brought over enemies and skins”)
NOTE: You’ll need to do the same sort of thing for __AAPrefabs/Ragdolls. If your game has magic users in it, you may need to do it for them, too.
Test
Finally, do some testing. You might run both games in the editor and see if they give different errors. It would be especially good to give someone an .apk for this game and the rollback .apk for it and have them test and compare both. Fix any issues that occur in the new version that didn’t occur in the old one, and commit and sync/publish the branch.