Purpose
This post explains how to integrate the Heatmapper tool into the Hub game and how to visualize real data.
Install package
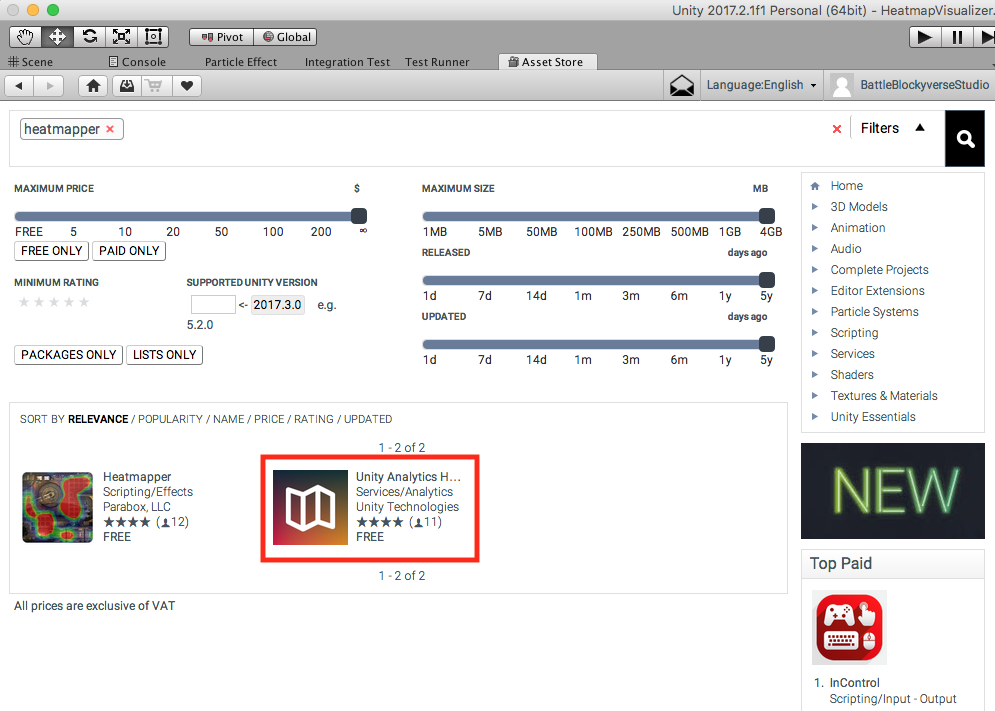
Sync to the Hub repo and to the master branch. Open your project in Unity 2017.2.1f1 and search “Heatmapper” in the Asset store. Then choose the option from Unity and import it:

First settings
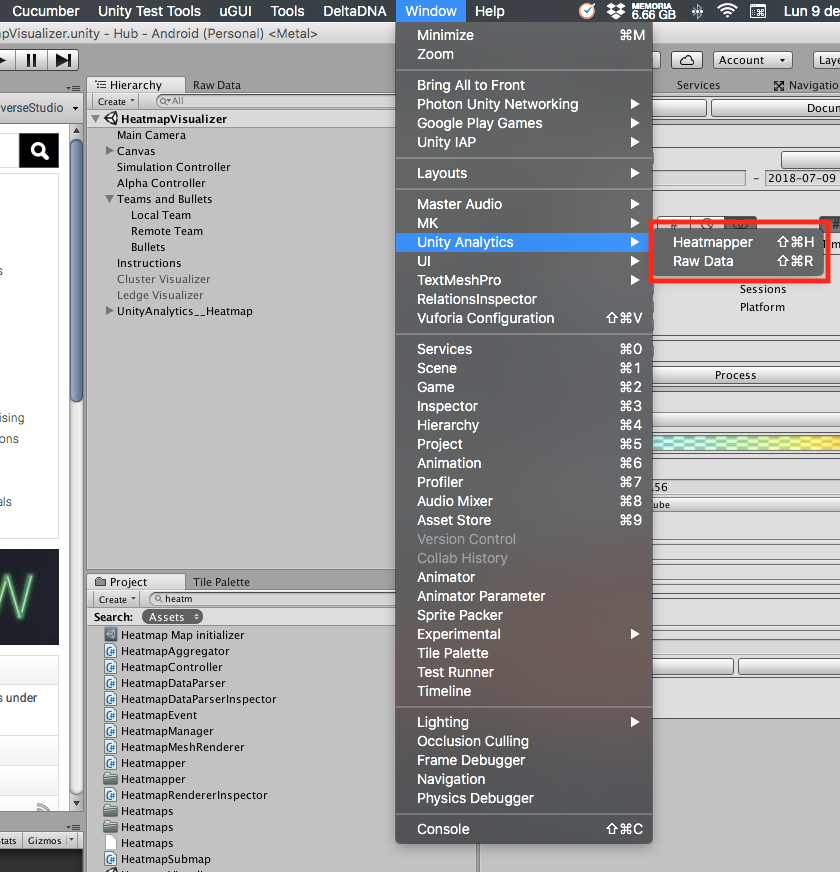
After importing the package you’ll have new menus. Open them in new tabs and place them in the editor:
Open the Raw Data tab and click on Generate Test Data. Make sure that Demo Data is selected. You can choose any type of Demo, this is only for “ignite” the mapper. After that click on Generate:
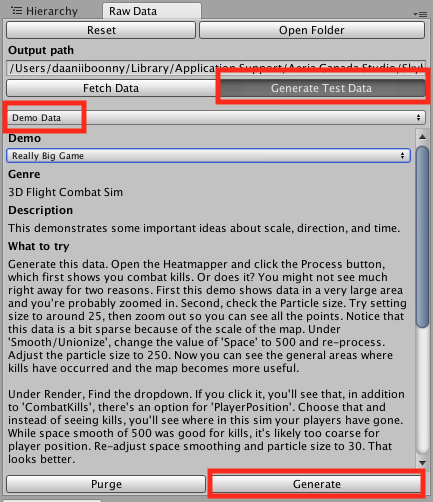
Remember to click on Purge before importing or creating new data. This will delete all the files so you can fresh create new records.
Visualize demo data
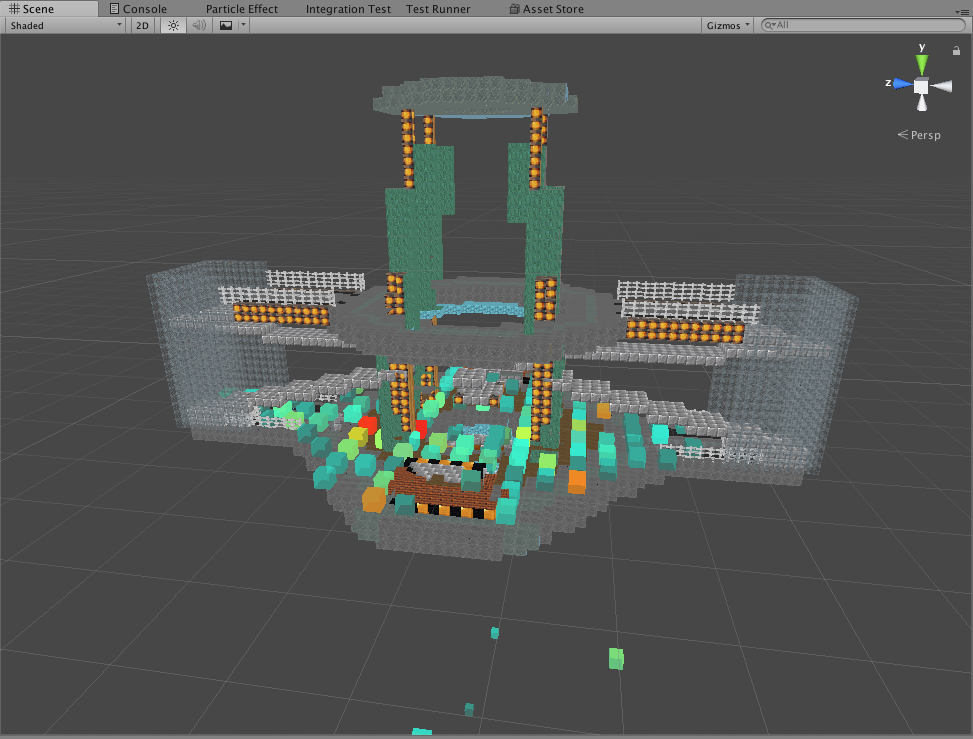
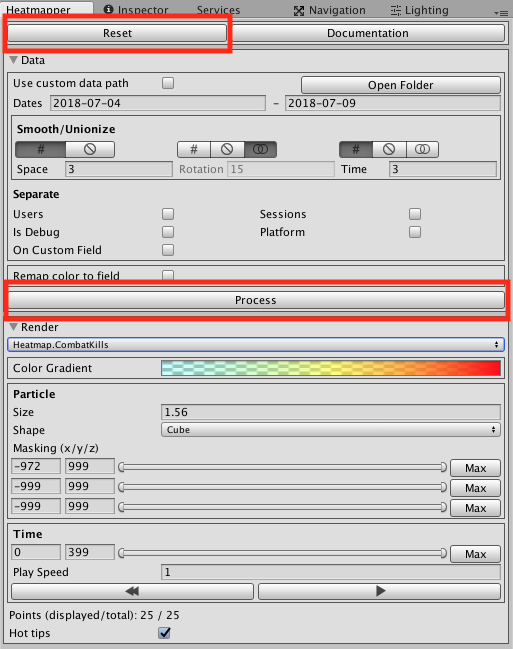
Inside the Heatmapper tab, click on Reset (you should click on Reset before processing, because some data may be leaked from older maps) and then Process. You’ll see some random points in your active scene. If you don’t, contact the PM you trust the most.
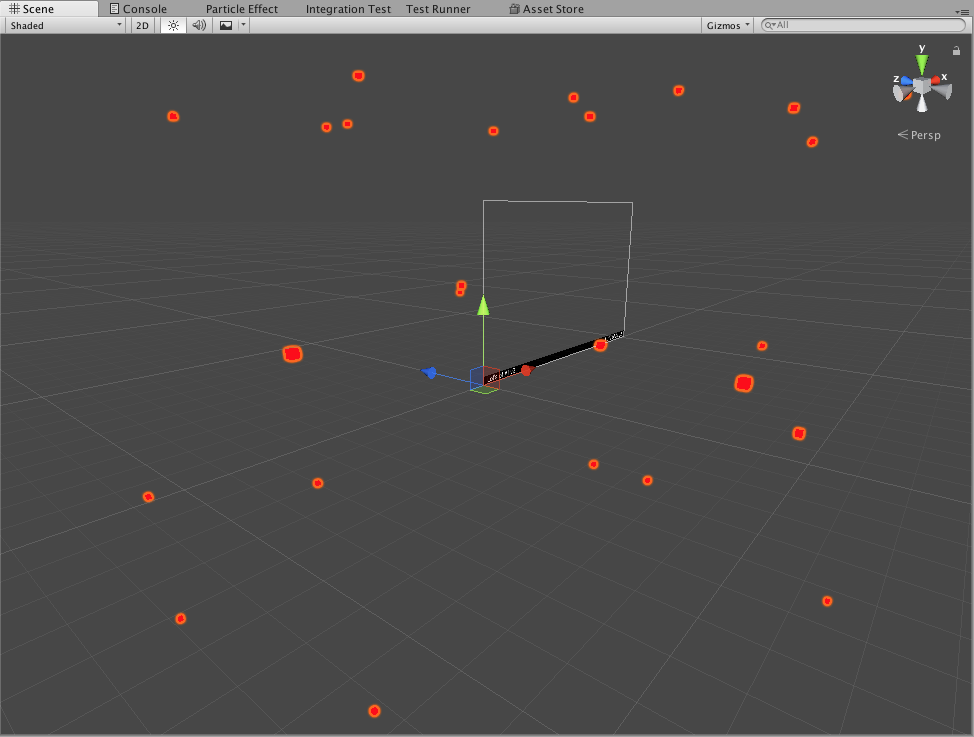
You should see something like this inside your Scene tab:
Common issues
- If you don’t see anything after processing the data, click on Open Folder inside the Heatmapper tab. Then open the corresponding folder of the game you’re editing and open the RawData folder and if you don’t see any file created there, make sure the folder has access and edit permissions (mostly for Mac).
- If you see some errors in the console related to the Heatmapper plugin, just restart Unity
Feel free to add your issues to this list.
Importing real data
Requirements
- For Windows users make sure you have this installed: 7-zip.
- For Mac users make sure you have gzip installed: Gzip
On the Heatmapper tab, click on Open Folder, open the corresponding folder of the game you’re editing and open the RawData folder. You should see some files like these ones:
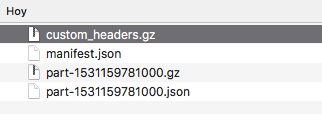
Select the first file with a .gz extension. Copy the number in its name. In this case we just need the “1531159781000” text.
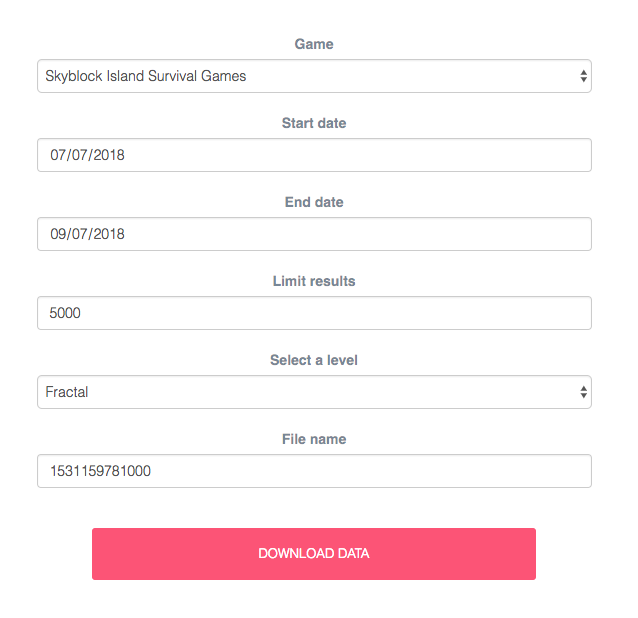
After that, you can go to this site: Data manager. Choose your game, the date ranges, the # of results you want to limit, the level you want and in the input that says File name paste the number you copied from the gz file. At the end click on Download Data. If everything is done correctly, you should see a txt file.
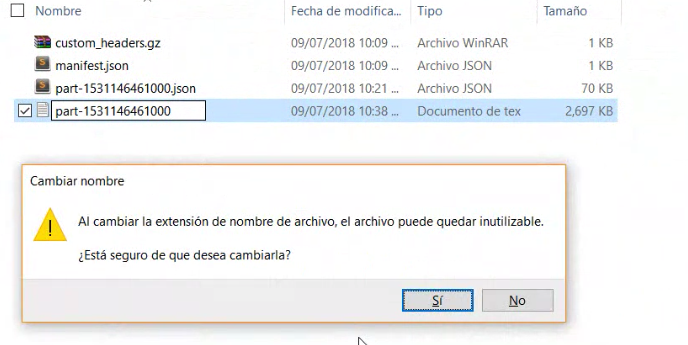
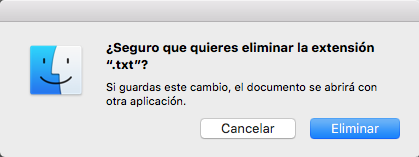
Now you should remove the txt extension to that file. Just rename it and remove the “.txt” suffix. If you see this alert, accept it:
Windows version
Mac version
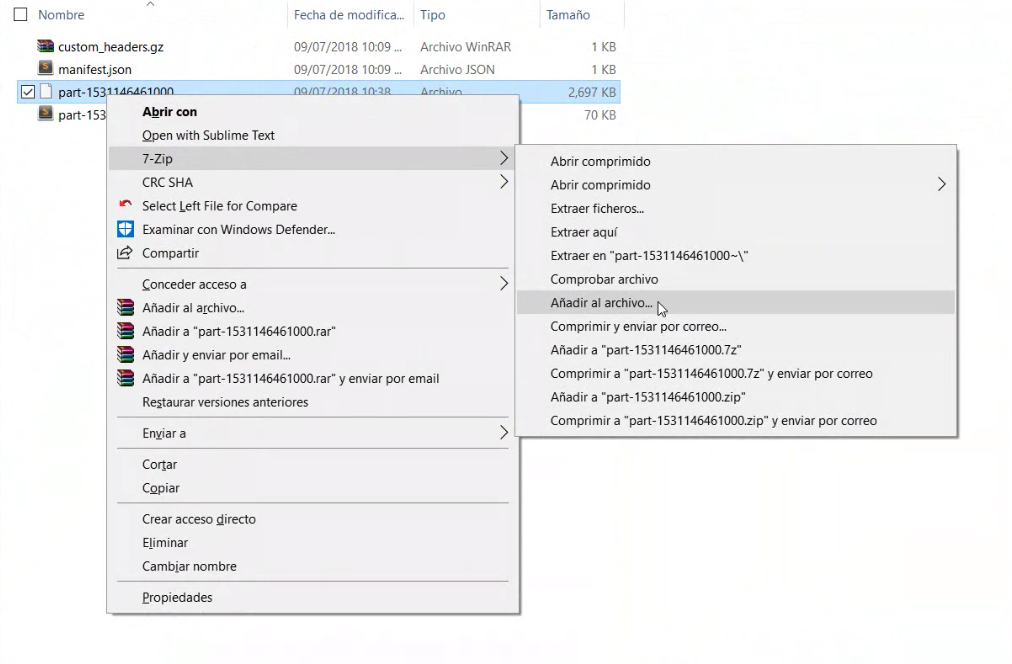
After that you need to compress this file into a gz:
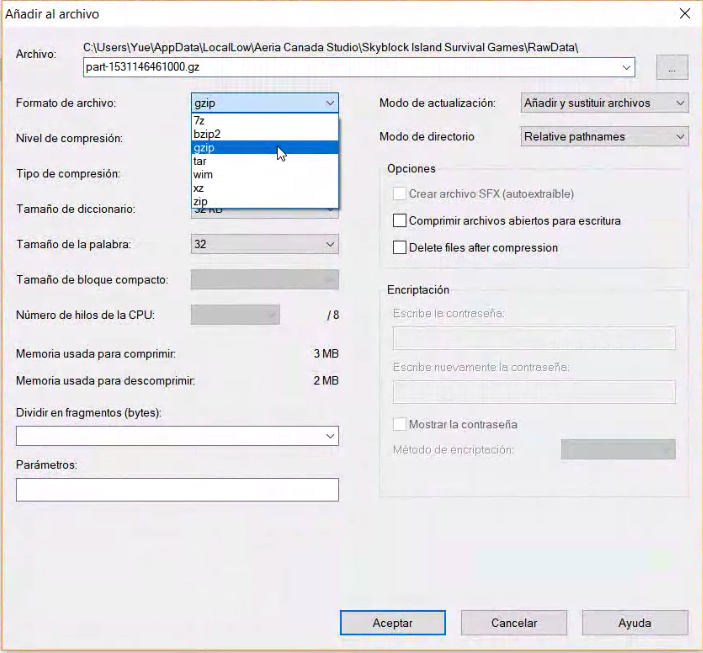
If you’re using Windows, just right click it -> 7-Zip -> Add to file. Then in File format choose gzip and Accept.
If you’re using Mac you can just go with your terminal to the location of your file and use the command “gzip” and the name of your file:

Finally and once you have the gzip file, you need to replace the gzip file with the same name in the RawData folder with the gzip you just created. Then go back to Unity and in the Heatmapper tab click again Reset and Process. You should see now REAL DATA!!!