
Time Manager Settings
Next, you’ll need to copy over the Time Manager settings. These settings tell the game (which tells the player) how long it is supposed to take to beat the levels.
In both versions of your game, search for the LaunchController, select the prefab, and scroll down to the Time Manager script.
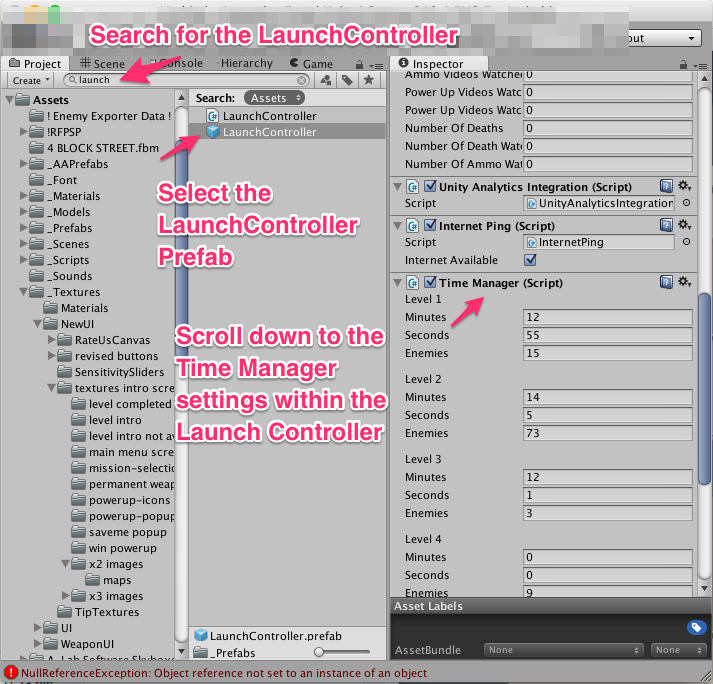
Then, you’ll need to copy and paste each of the values in the Time Manager in the old game into the corresponding positions in the new game.
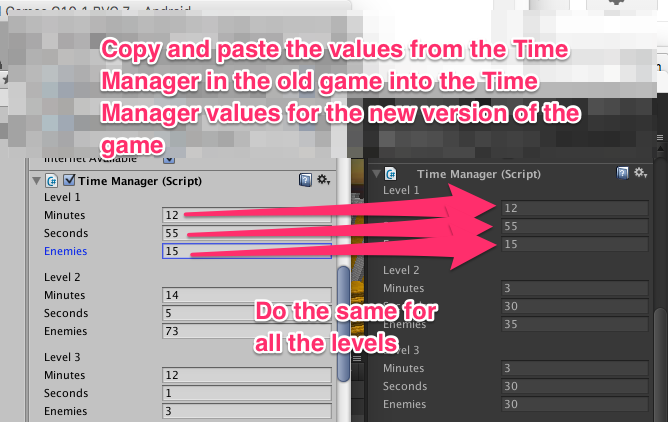
Hit APPLY.
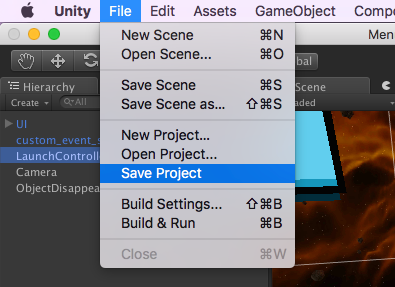
To be sure your settings are safe, in the new version, choose File -> Save Project.
Leaderboard Settings
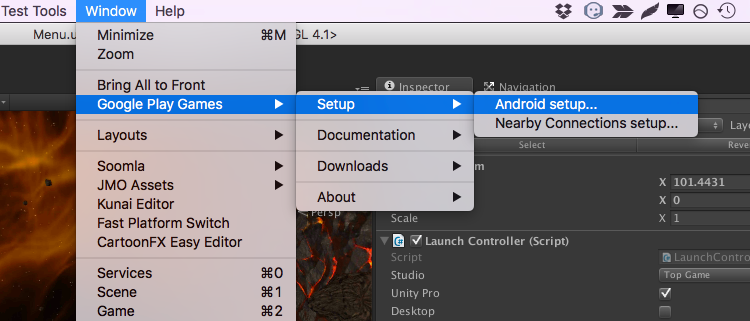
Go to Window->Google Play Games->Setup->Android Setup…
Open up this spreadsheet, open the “Leaderboard Scripts” tab, and find your game in the list in column B. You will need to copy the data in the cell in column C. Unfortunately, it is easier to do this wrong than to do it right.
Here are two methods:
Copy With The Mouse
With the data cell selected, enlarge the area for the formula until it shows everything in the cell. Then select it with your mouse and copy as normal.
Make sure it doesn’t end with something stupid like “To enable screen reader support, press shortcut ⌘+Option+Z.” It should start with “<?xml>” and end with “</resources>”

Copy With The Keyboard, Then Clean Up
Select your cell and then press Ctrl+C (or Cmd+C). Paste the text into a text editor. Note that it has double quotes everywhere, and an extra quotation mark at the start and at the end.
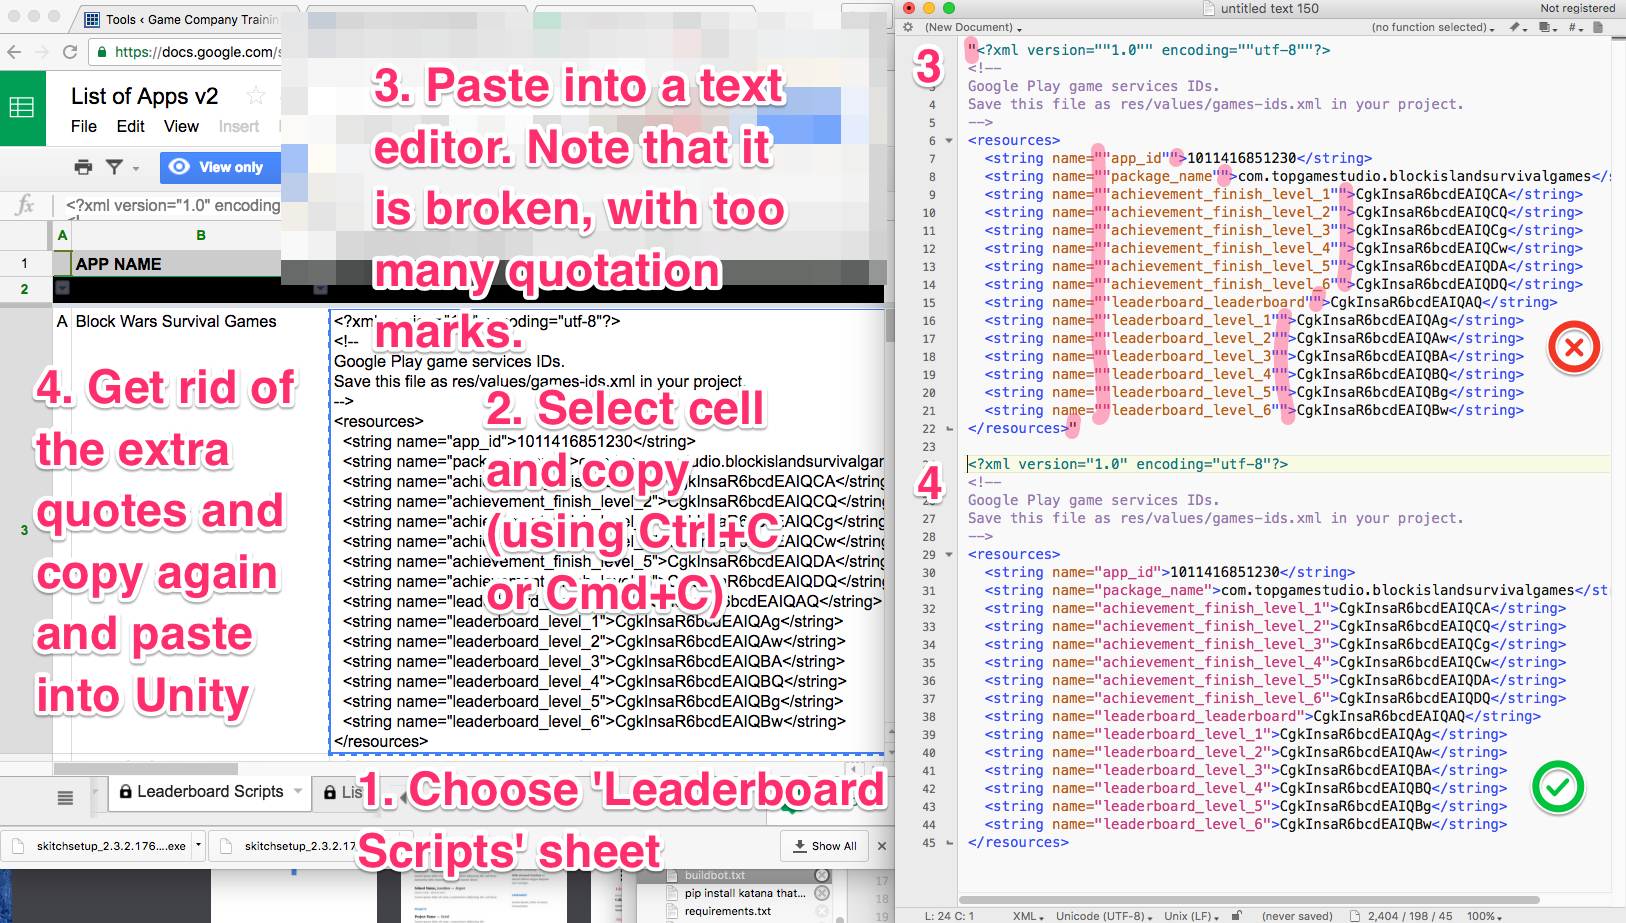
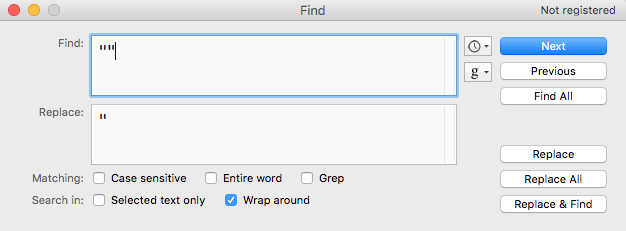
Do a “Find And Replace”. Replace two quote marks in a row with just one.
Finally, get rid of the initial quote and the trailing quote. Select all the text in your text editor, copy it again, and paste it into Unity in the Google Play Android Setup window.
Now Hit Setup
Now you hit the ‘Setup’ button at the bottom of the dialog. If all goes well, it’ll update files. If not, see the “troubleshooting” section.
Note that you’ll likely be asked to update JAR files. Ex:
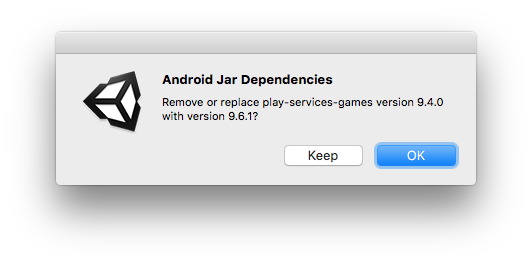
At the moment, we don’t know the ‘right’ answer to this question. Hit ‘keep’ or ‘ok’ and move on.
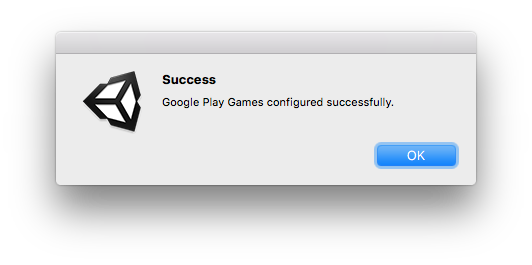
Finally, you should see:
Troubleshooting
Error: Invalid Classname blah blah blah
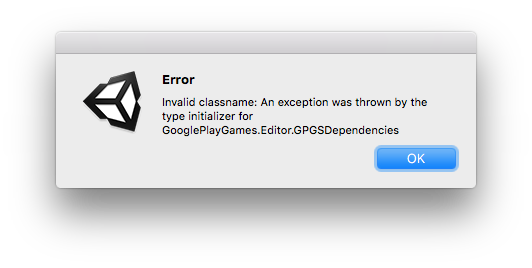
I got this lovely error the first several times I tried.
Here’s how I finally resolved it.
Go to Window -> Google Play Games -> Downloads -> Google Play Games SDK (Android)…
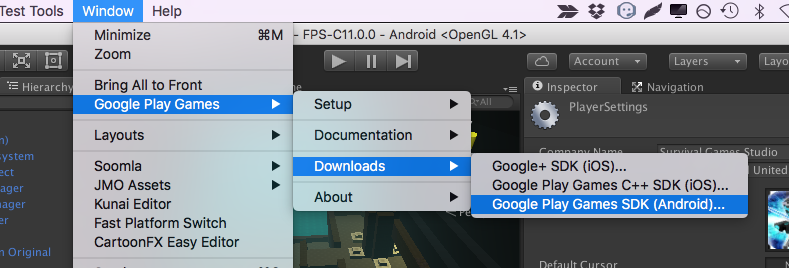
It’ll ask if you want to start the SDK manager. Yes, yes you do.
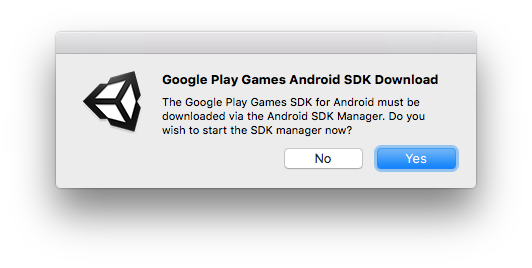
Now it tells you where to find the item to update.
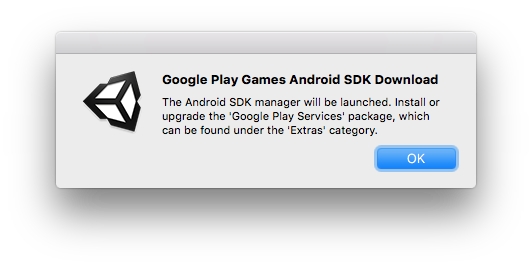
My Android SDK manager looked like this:
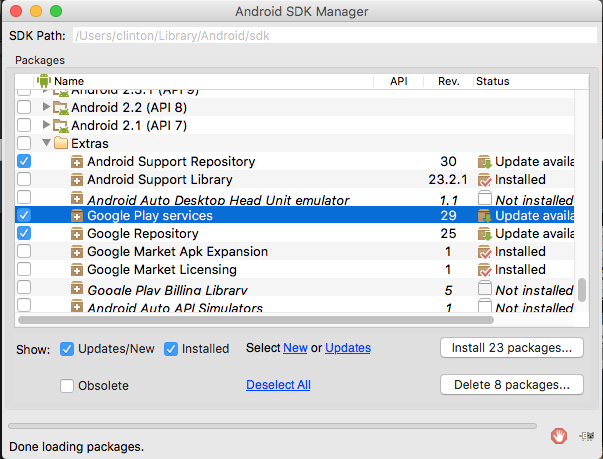
I hit ‘Deselect All’ and then selected Extras/Google Play services, and installed it. That did not help 🙁
So I brought it up again and installed all 23 packages that google thought should be updated. It took over an hour to download, and I think it was more than was necessary. But in the end, it worked, and I was able to update the leaderboard settings for the game.
If that didn’t work, I would’ve tried updating my Java Development Kit next, downloading the latest (Java SE 8u101 at this time) from Oracle.
Change Bundle ID
If you see this message asking you to change the bundle ID …
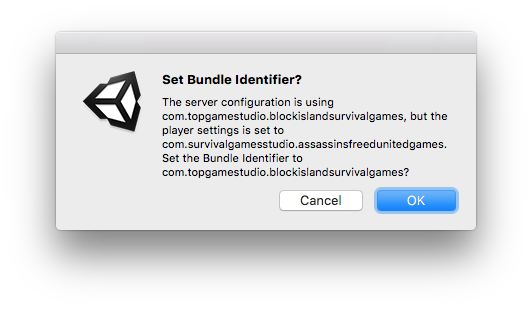
then you’ve done something wrong. Don’t change the bundle ID.
Either:
- you never updated the game in the first place, or otherwise put the wrong bundle ID in the game.
- you’ve copied the wrong cell from the spreadsheet
- somehow the data in the spreadsheet is wrong
You should never have to change the bundle ID at this step.
Testing and Balancing
Now that the game works, test it and balance it. (Details are beyond the scope of this document. Suffice it to say that C16 enemies act differently than C10 enemies).
Commit to Version Control
Close Unity.
Commit everything to your branch in version control. Publish it. Sync it.
Export The Data
Optionally, export the data from your game as it now stands, and upload it to dropbox. This may allow the next person to update the game to use your export instead of needing to download the entire project folder. But for security and safety reasons, production team agreed both the data and project folder should be uploaded in the corporate dropbox.
When exporting from the current project, a window will NOT pop-up to save the package, instead it will save a folder called ! Enemy Exporter Data ! that will be saved in the Assets folder.
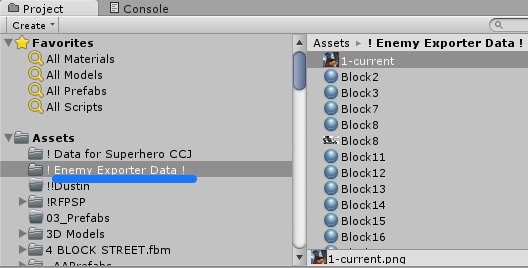
Export this folder and apply the standard naming format, AppName – BundleVersion – BVC.unitypackage
![]()
Upload the data from this current project and upload it in the corporate dropbox, folder name 9-App Asset Packages.
For the Project Folder, standard naming format should be followed:
Appname BundleVersion BVC.(file ext name)
No alterations, no punctuation marks.
Ex. Superhero Cube City Justice C16.3 BVC2.rar – correct